
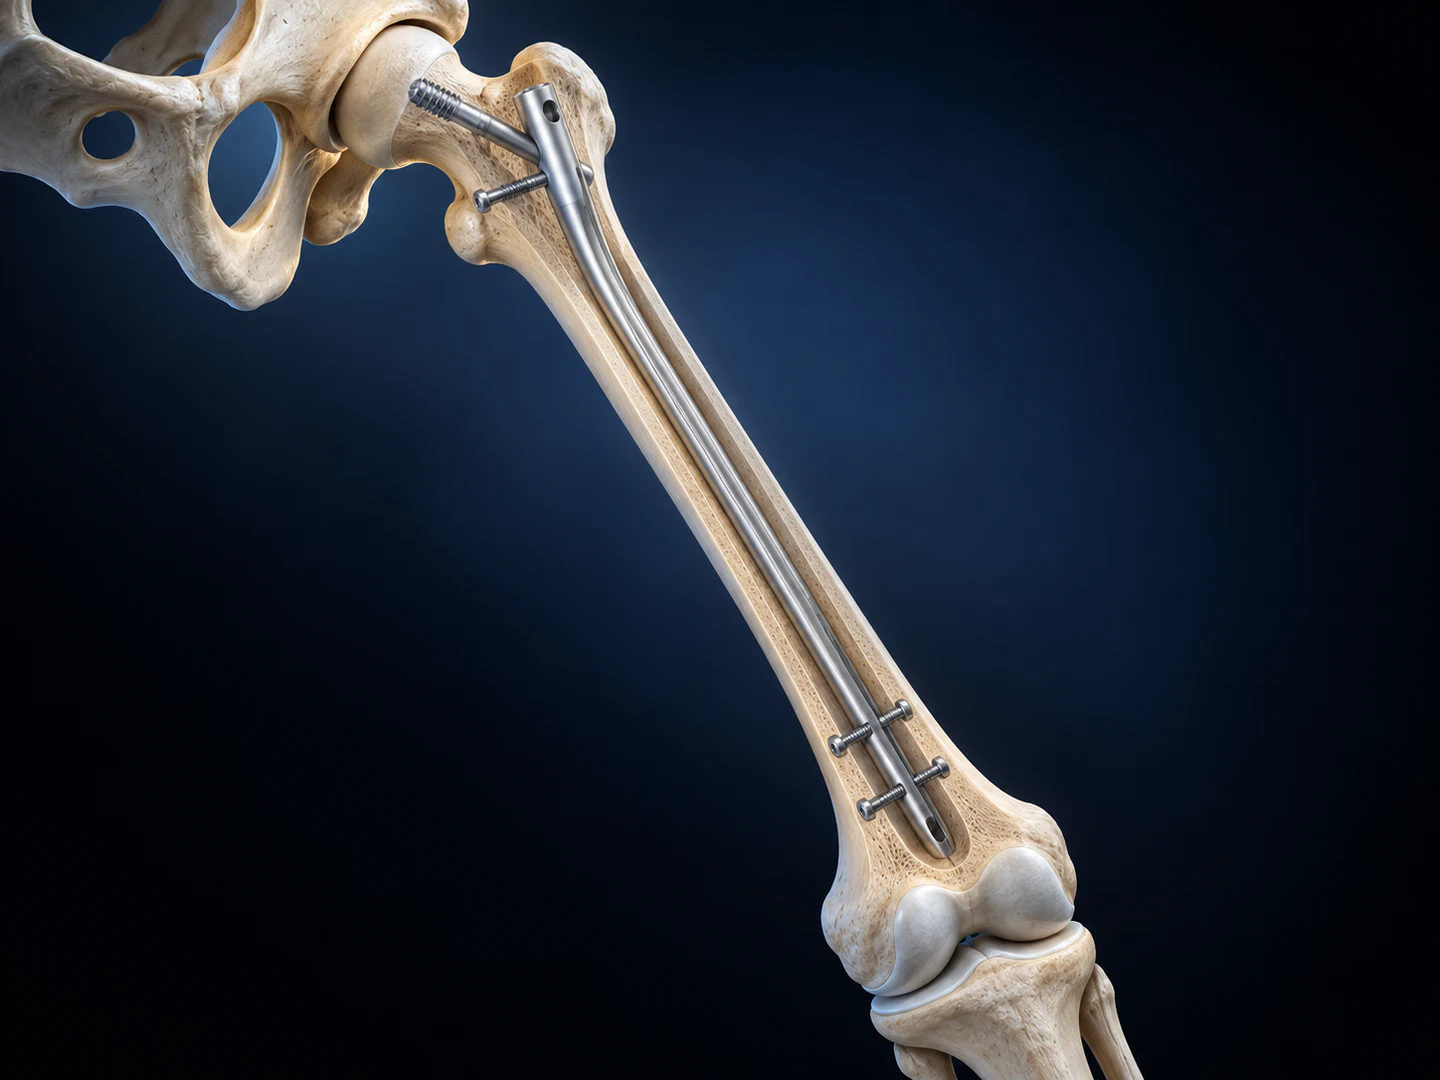
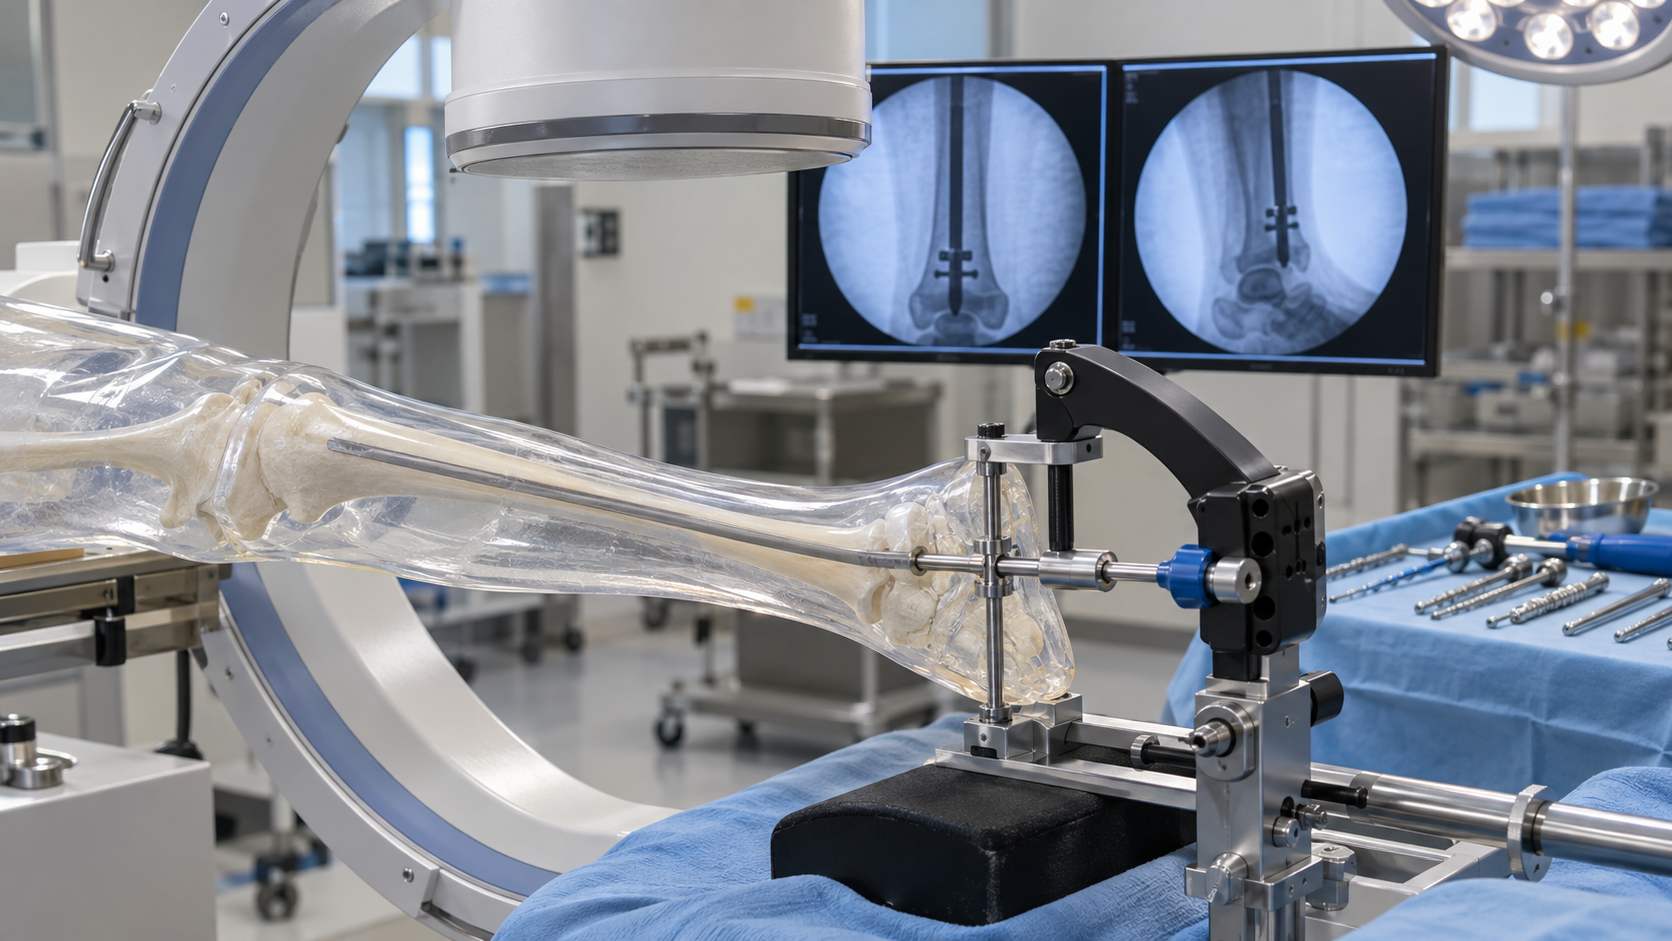
Distal interlocking can become one of the most imaging-intensive steps in intramedullary nailing. A predictable workflow helps the team reduce repeated positioning and unnecessary screening.
Start with stable alignment
The nail, limb and imaging equipment should be positioned so the distal holes can be obtained without repeated large corrections. Any movement in the construct can disrupt targeting accuracy.
Use geometry deliberately
Targeting arms, radiolucent guides and clear reference markers help translate implant geometry into a repeatable drilling path. The team should confirm assembly and calibration before use.
Team coordination
- Agree imaging views before distal locking begins.
- Keep the C-arm path clear and reproducible.
- Confirm drill position before advancing.
- Review final locking and implant position systematically.
Efficient distal locking is less about speed than eliminating avoidable repeats through preparation, stable geometry and clear communication.
Preparation before imaging begins
Efficiency starts before the C-arm is activated. The team should confirm the nail size, targeting assembly, locking instruments and compatible drills before distal locking. A loose connection or incorrect component can create repeated adjustments that increase time and radiation exposure.
Patient and equipment positioning should preserve access to the distal segment while allowing the image intensifier to move between required views. Cables, tables and instrument stands should be arranged so a verified position can be reproduced without obstruction.
Recognising a usable view
For freehand locking, the target hole must be presented as a true circle before drilling. For guided systems, imaging confirms that the intended hole and trajectory correspond with the targeting assembly. Small corrections should be deliberate; repeated large movements often indicate that the starting geometry needs to be reset.
- Centre the region of interest before magnification.
- Use short screening pulses when making corrections.
- Keep hands and unnecessary personnel outside the beam.
- Communicate clearly before every exposure.
Managing drill trajectory
Once alignment is established, the drill must remain stable as it contacts cortex. Skiving can shift the entry point and lead to repeated imaging. A controlled start, suitable sleeve and secure instrument position help maintain the selected path. The team should verify trajectory before crossing the far cortex when required by the approved technique.
Radiation-conscious teamwork
Reducing fluoroscopy is a shared workflow objective. The surgeon, radiographer and assistants should agree on commands, required views and equipment movement. Distance, shielding and beam orientation remain important even when screening time is short.
Tracking repeated causes of delay can reveal opportunities for training. Common themes include incomplete assembly checks, poor initial limb position, obstructed C-arm travel and uncertainty about the required projection.
Final verification
Efficiency should never remove the final review. Locking screw length, nail position, fracture alignment and the complete construct require confirmation in appropriate views. Images should demonstrate the result clearly enough for the operative record and postoperative plan.
Practical takeaway
Lower imaging time is usually the outcome of preparation and reproducibility rather than faster drilling. Stable positioning, verified targeting geometry, concise communication and disciplined image acquisition allow the team to avoid preventable repeats while maintaining confidence in distal fixation.